100% Kiwi made
Developed and manufactured in Canterbury, New Zealand. This device offers a method to help minimize wind damage.
Background
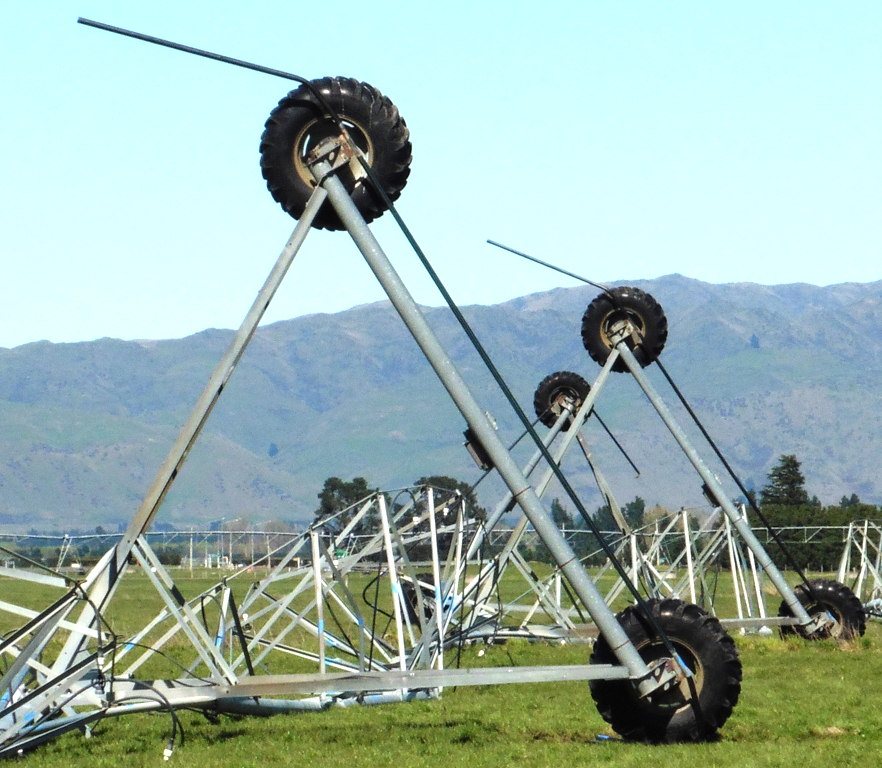
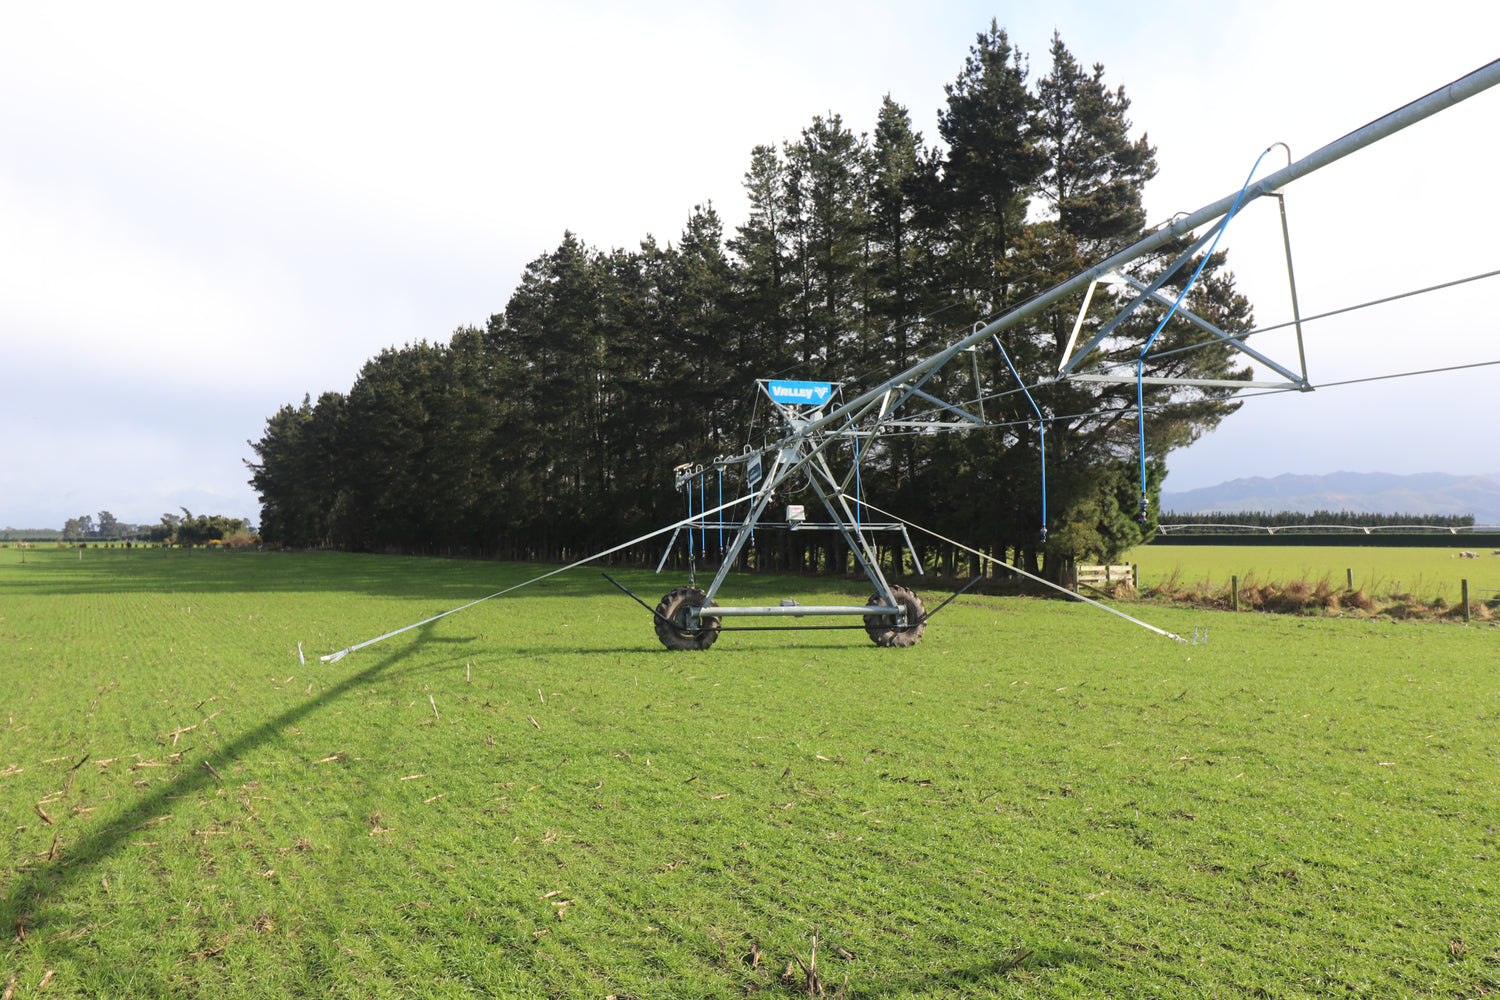
Pivot Anchors have been developed to provide farmers with a cost effective, quick and simple method of anchoring down irrigators to mitigate the effects of wind damage.
Being able to anchor an irrigator down helps to minimize the oscillating, (bouncing), effect that wind can have on irrigators, which can then cause roll over or significant structural damage. This can result in expensive repair costs and the loss of dry matter production while they are out of action, waiting to be repaired.
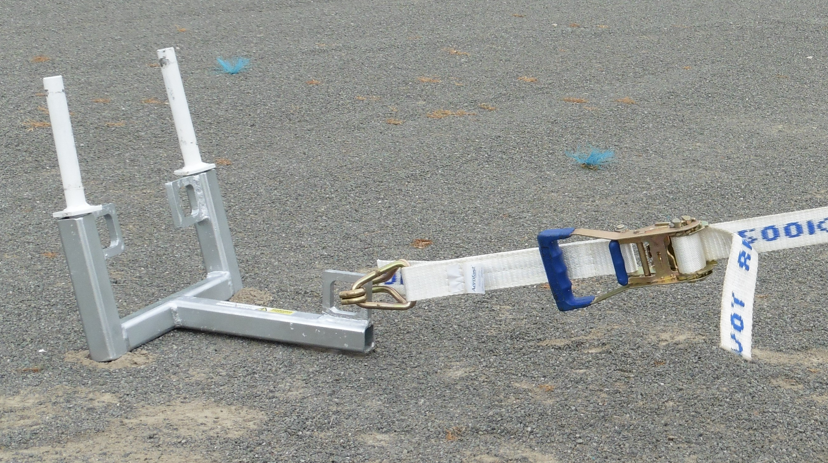
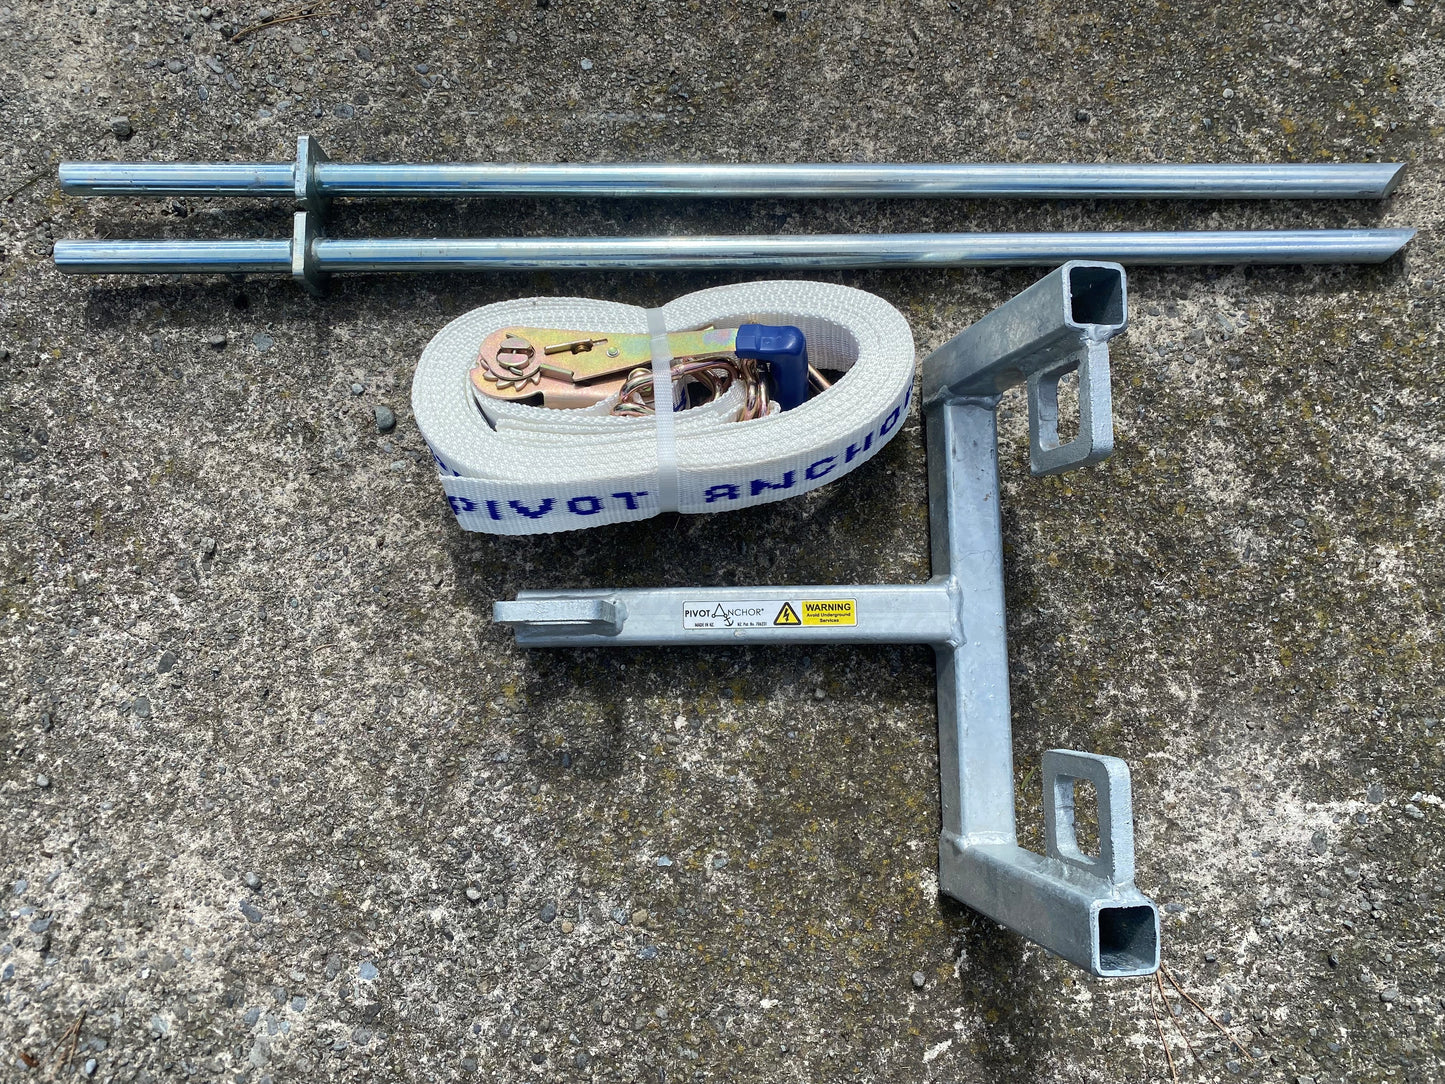
Anchor Design
The anchors consist of a steel frame which is held in place with two high tensile 4140 25mm steel pins that are driven into the ground at a specific angle to a depth of approximately 600mm.
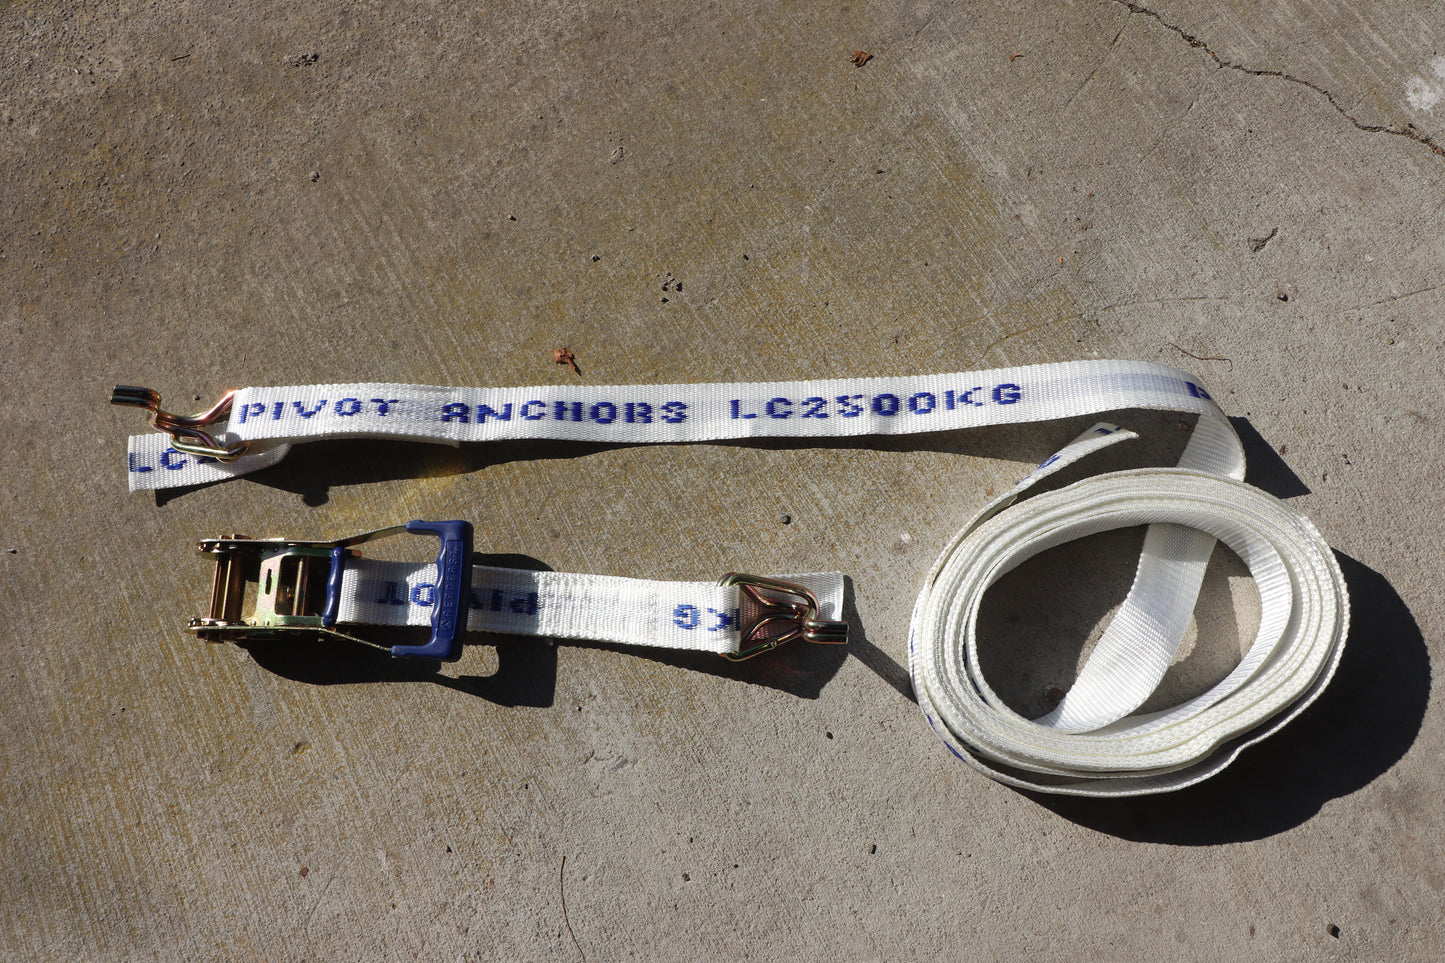
A 9m ratchet tie down connects from this anchor assembly, to a point on the irrigator.
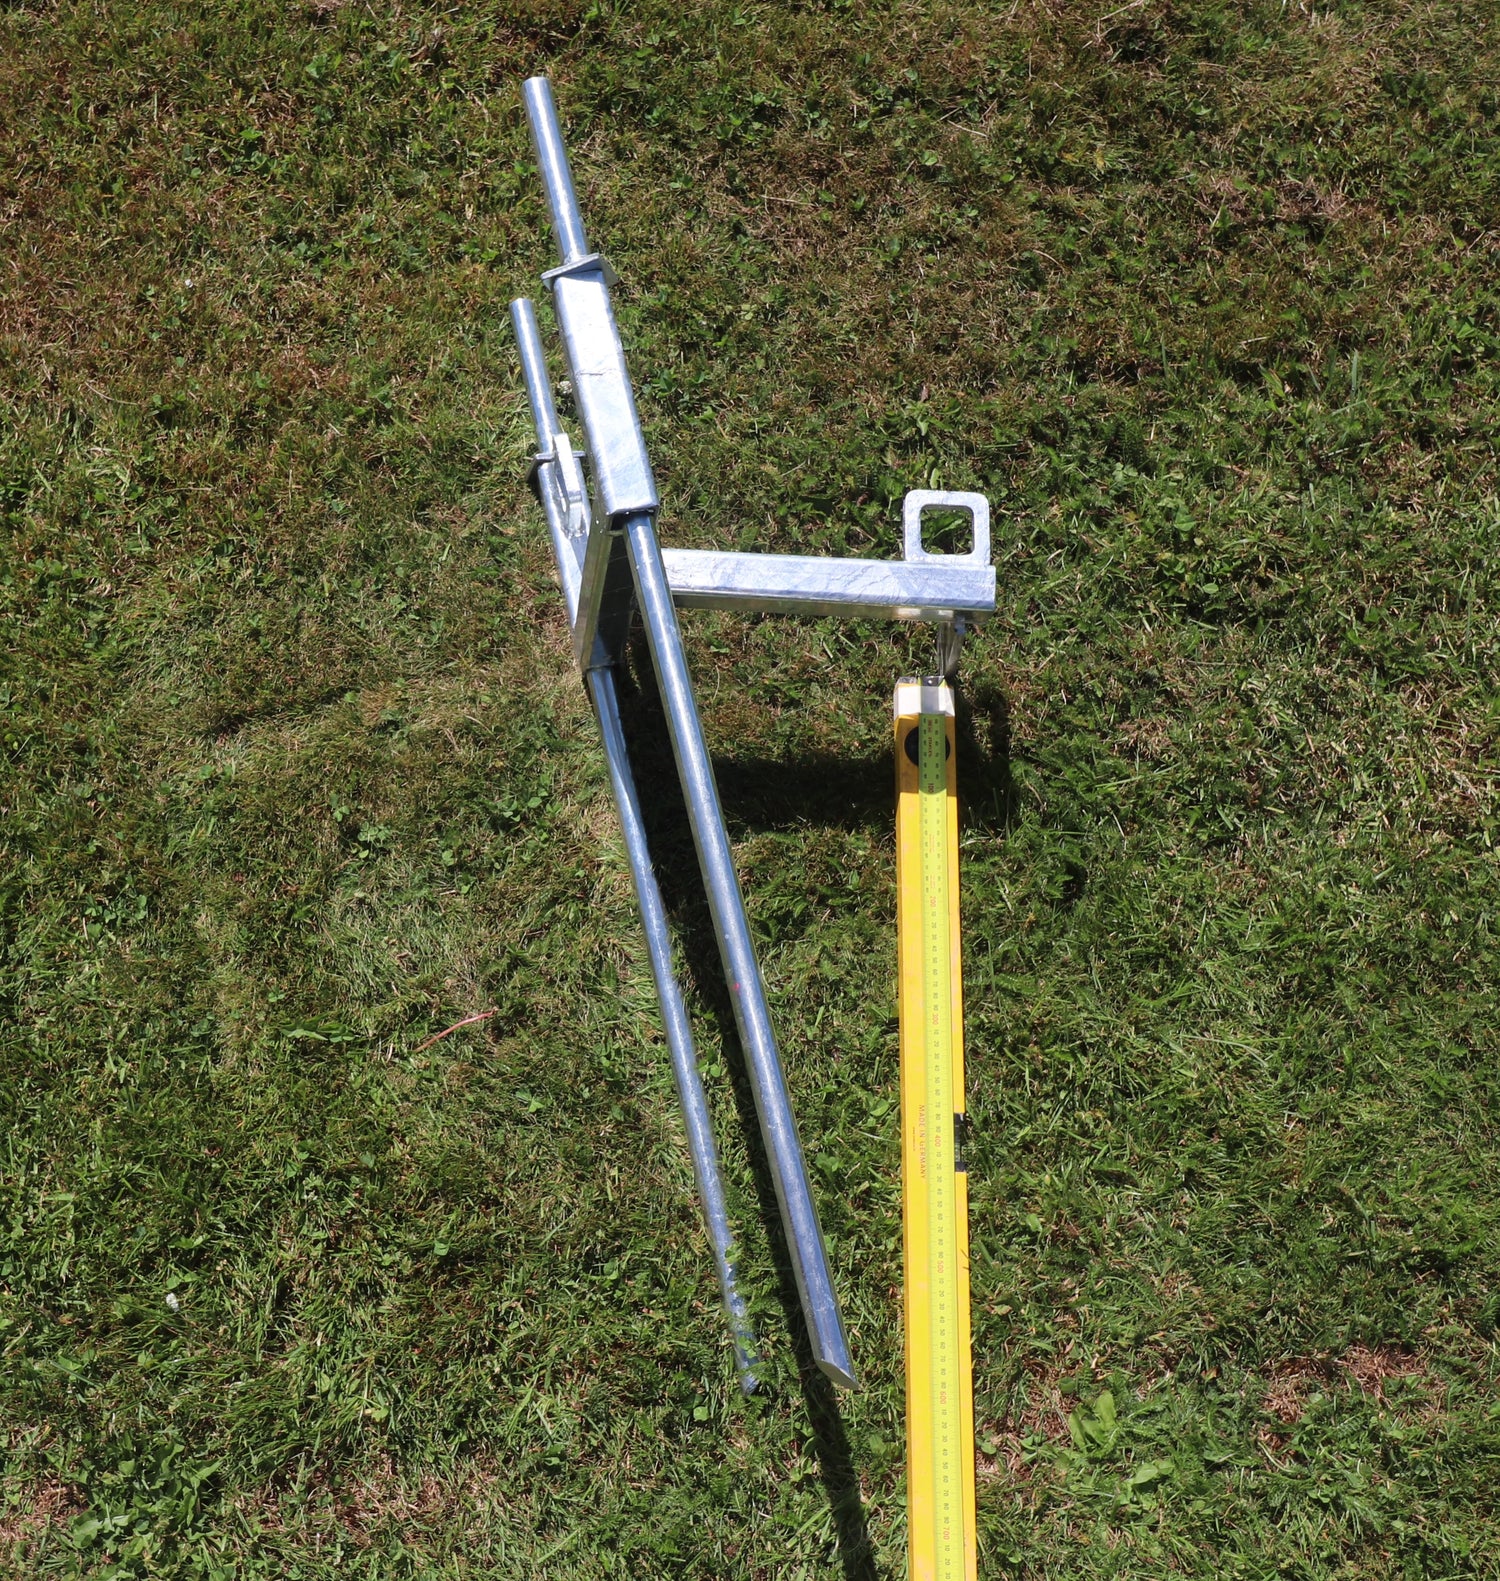
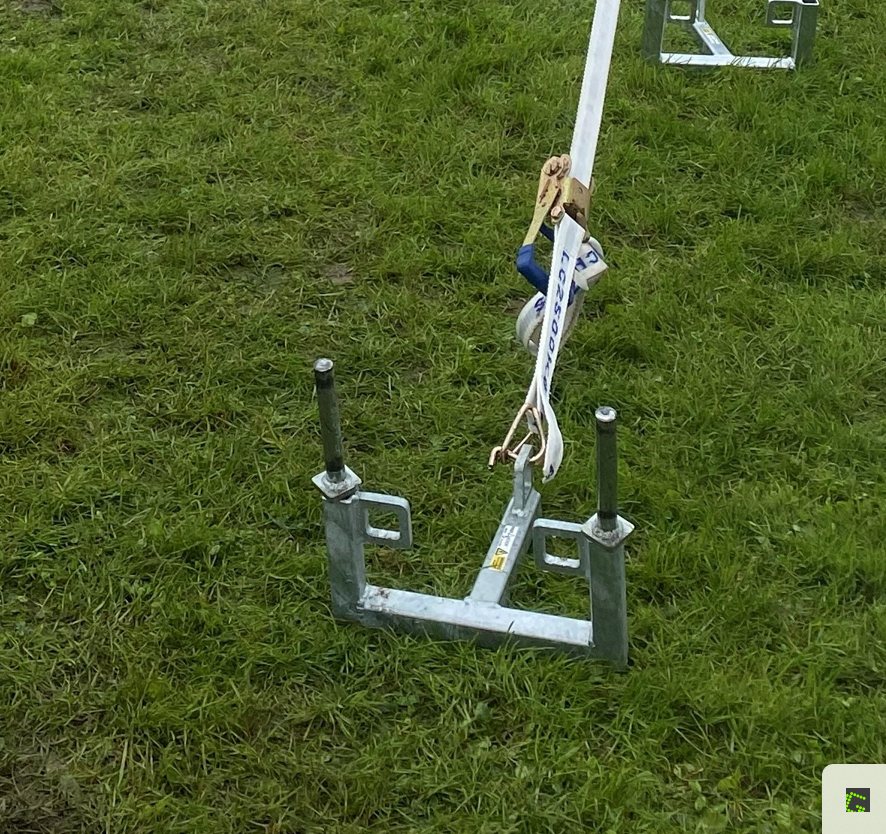
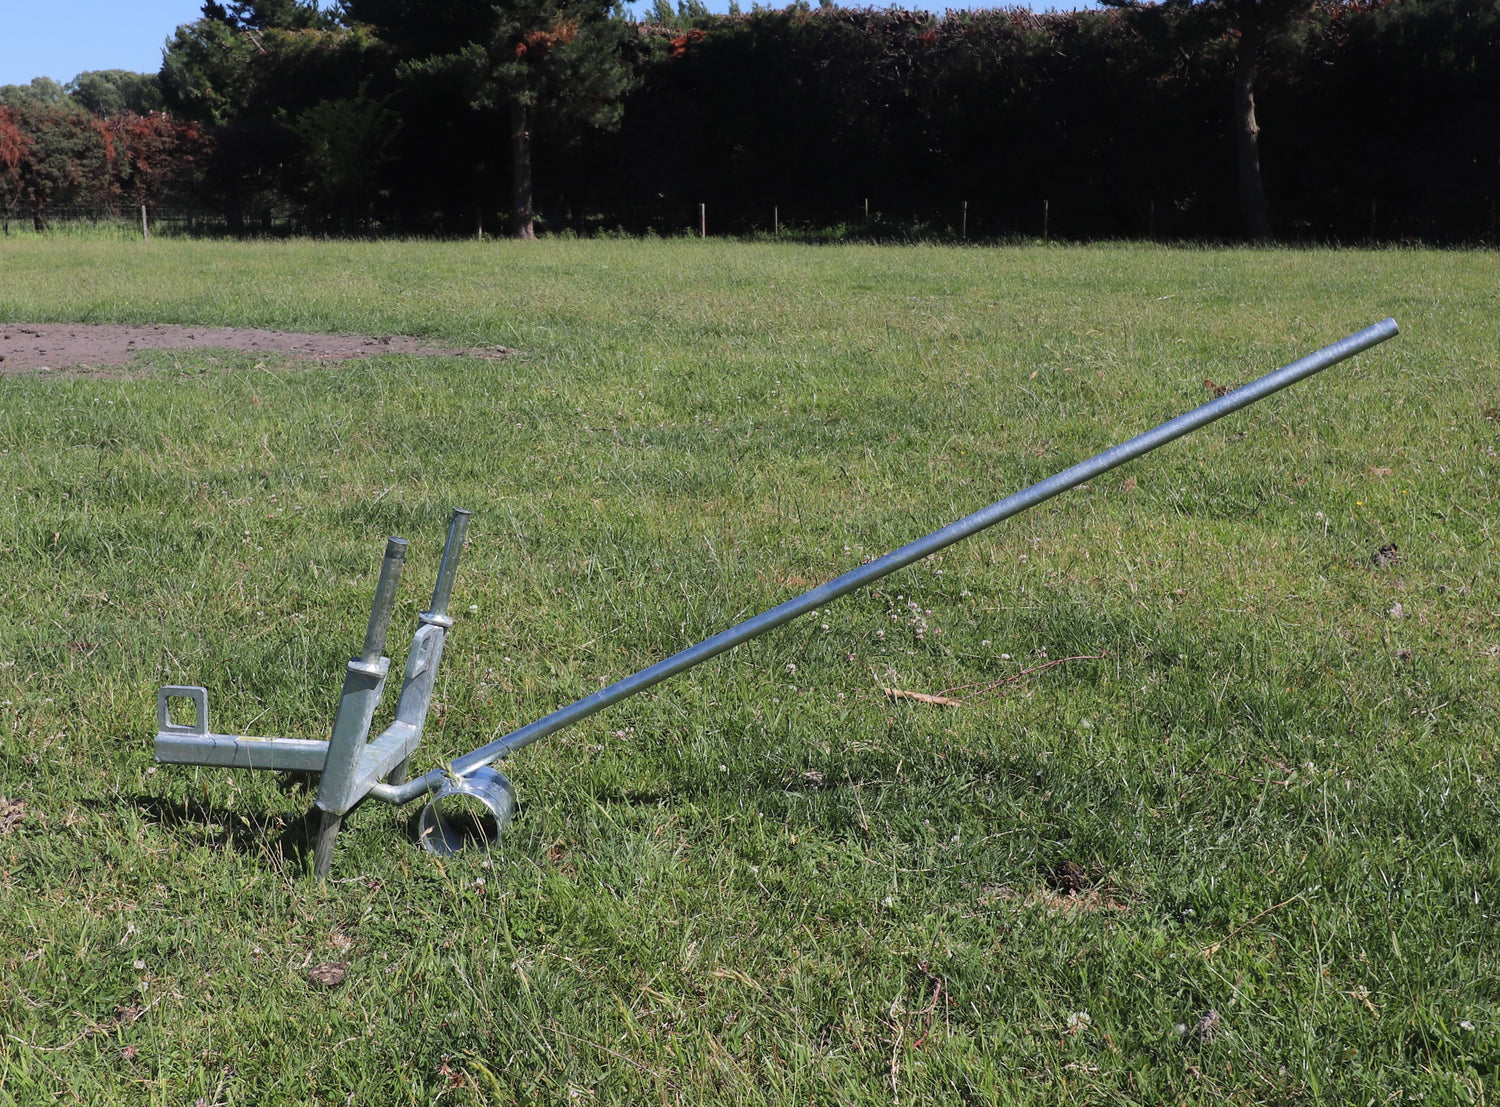
Side Profile
This side on photo shows the depth and angle of the pins in relation to the anchor frame.
The lateral load from the tie down gets transferred through the 25mm high tensile steel pins into the subsoil resulting in a very robust and strong anchoring method over a range of variable soil types.
Testing Results (Holding force in kg before the anchor moves)
Silty sandy soil 1100-1200kg
Silt Loam 1400-1500kg
Clay/gravels 1500-1700kg (estimated from similar soils tested)
As a comparison, (Holding force in kg before the following will be dragged);
500kg concrete block 250kg
1000L IBC tank of water 650kg
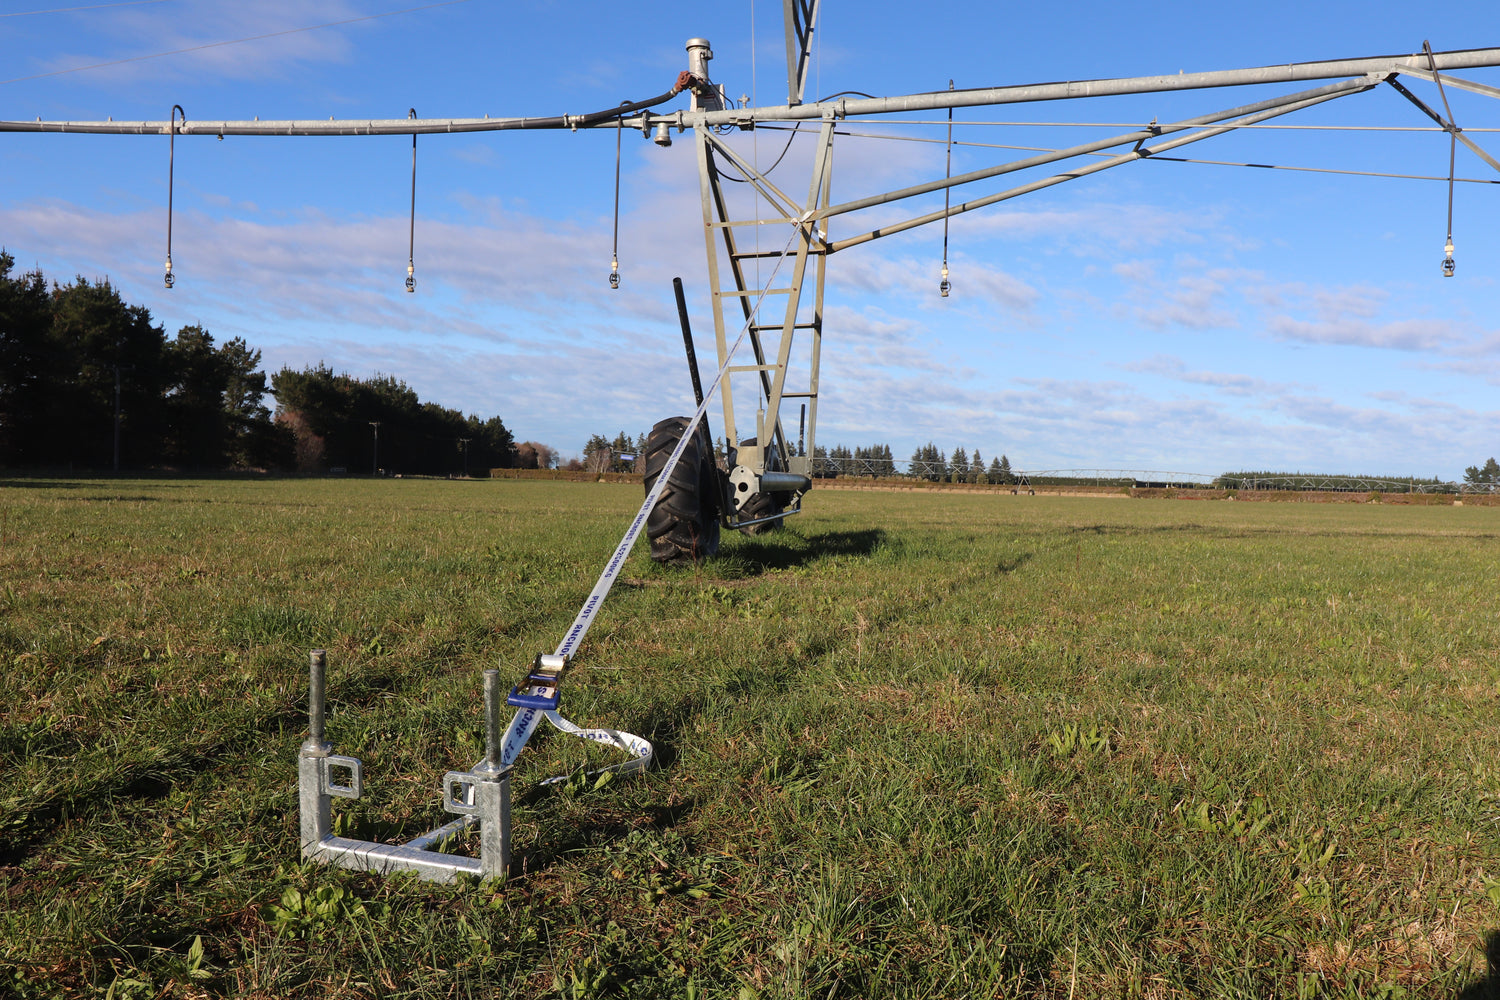
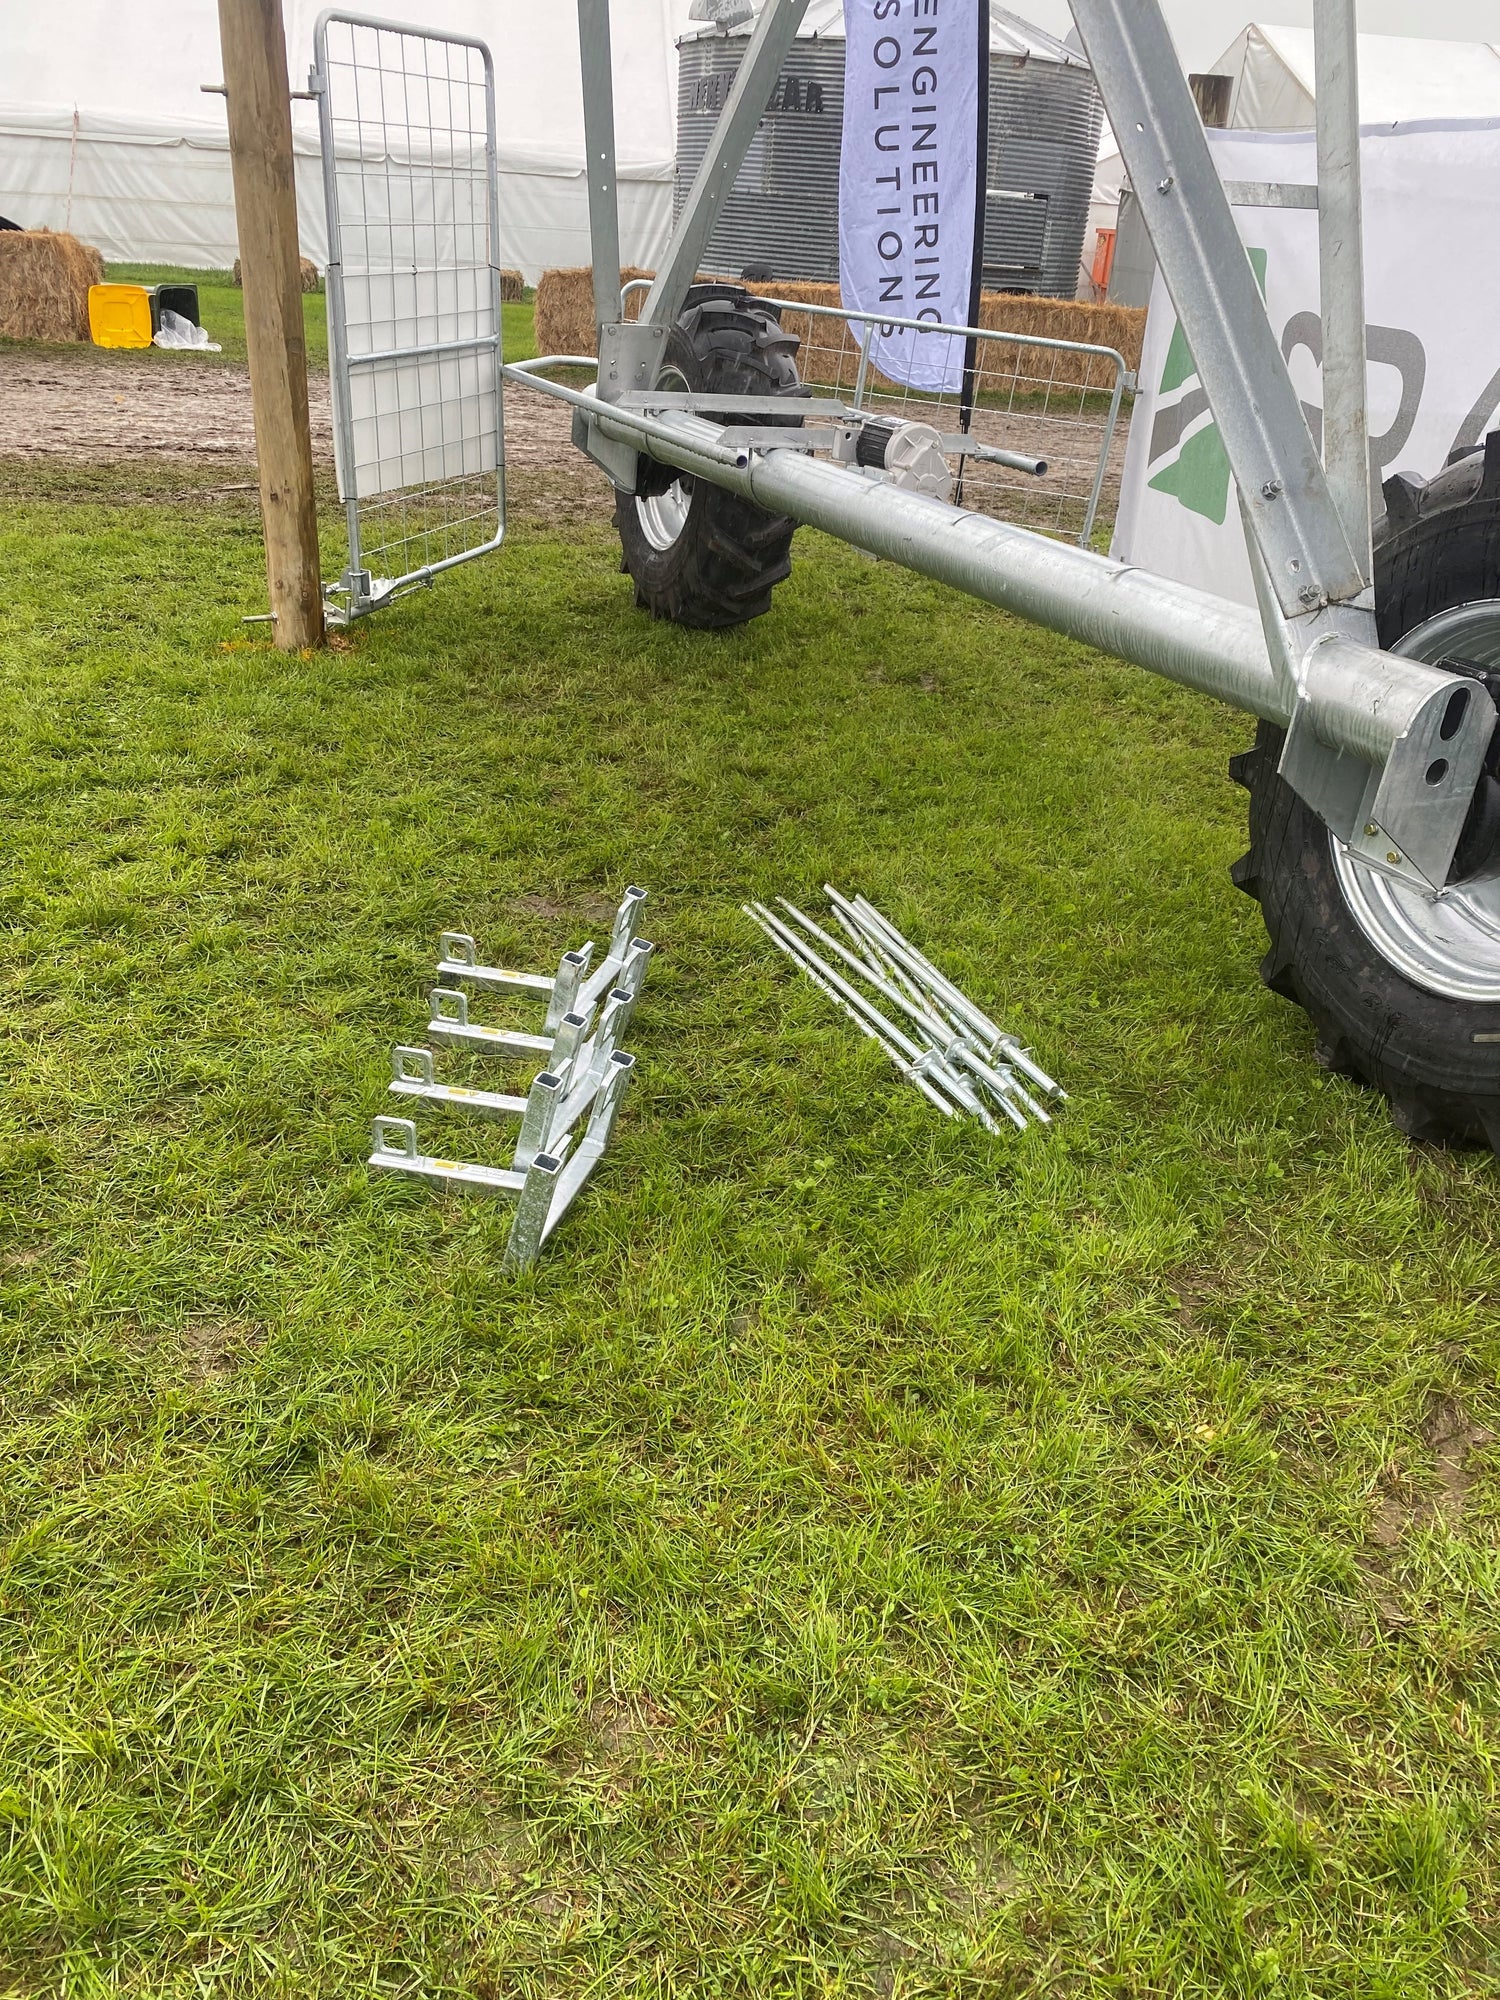
Installation
- It is recommended to install two anchors on the upwind side of each span of the pivot. One above the wheels, and the other mid-span. More anchors = more force holding down the irrigator to the ground.
- Drive the steel pins through the anchor frame using a sledge hammer or waratah driver.
Facing into or downwind
If the irrigator is pointing into or downwind, anchors can be installed either side of the irrigator to help with changes in the wind direction.

Installation using a waratah driver
We recommend using a Honda powered 4 stroke Waratah driver with internal reducing bush to install the steel pins quickly and efficiently if you have a lot of anchors to install in hard ground. A sledge hammer can also be used to drive the pins into the ground.
Removal using the removal tool
Insert the bar underneath the anchor frame to remove both the frame and the pins at the same time.
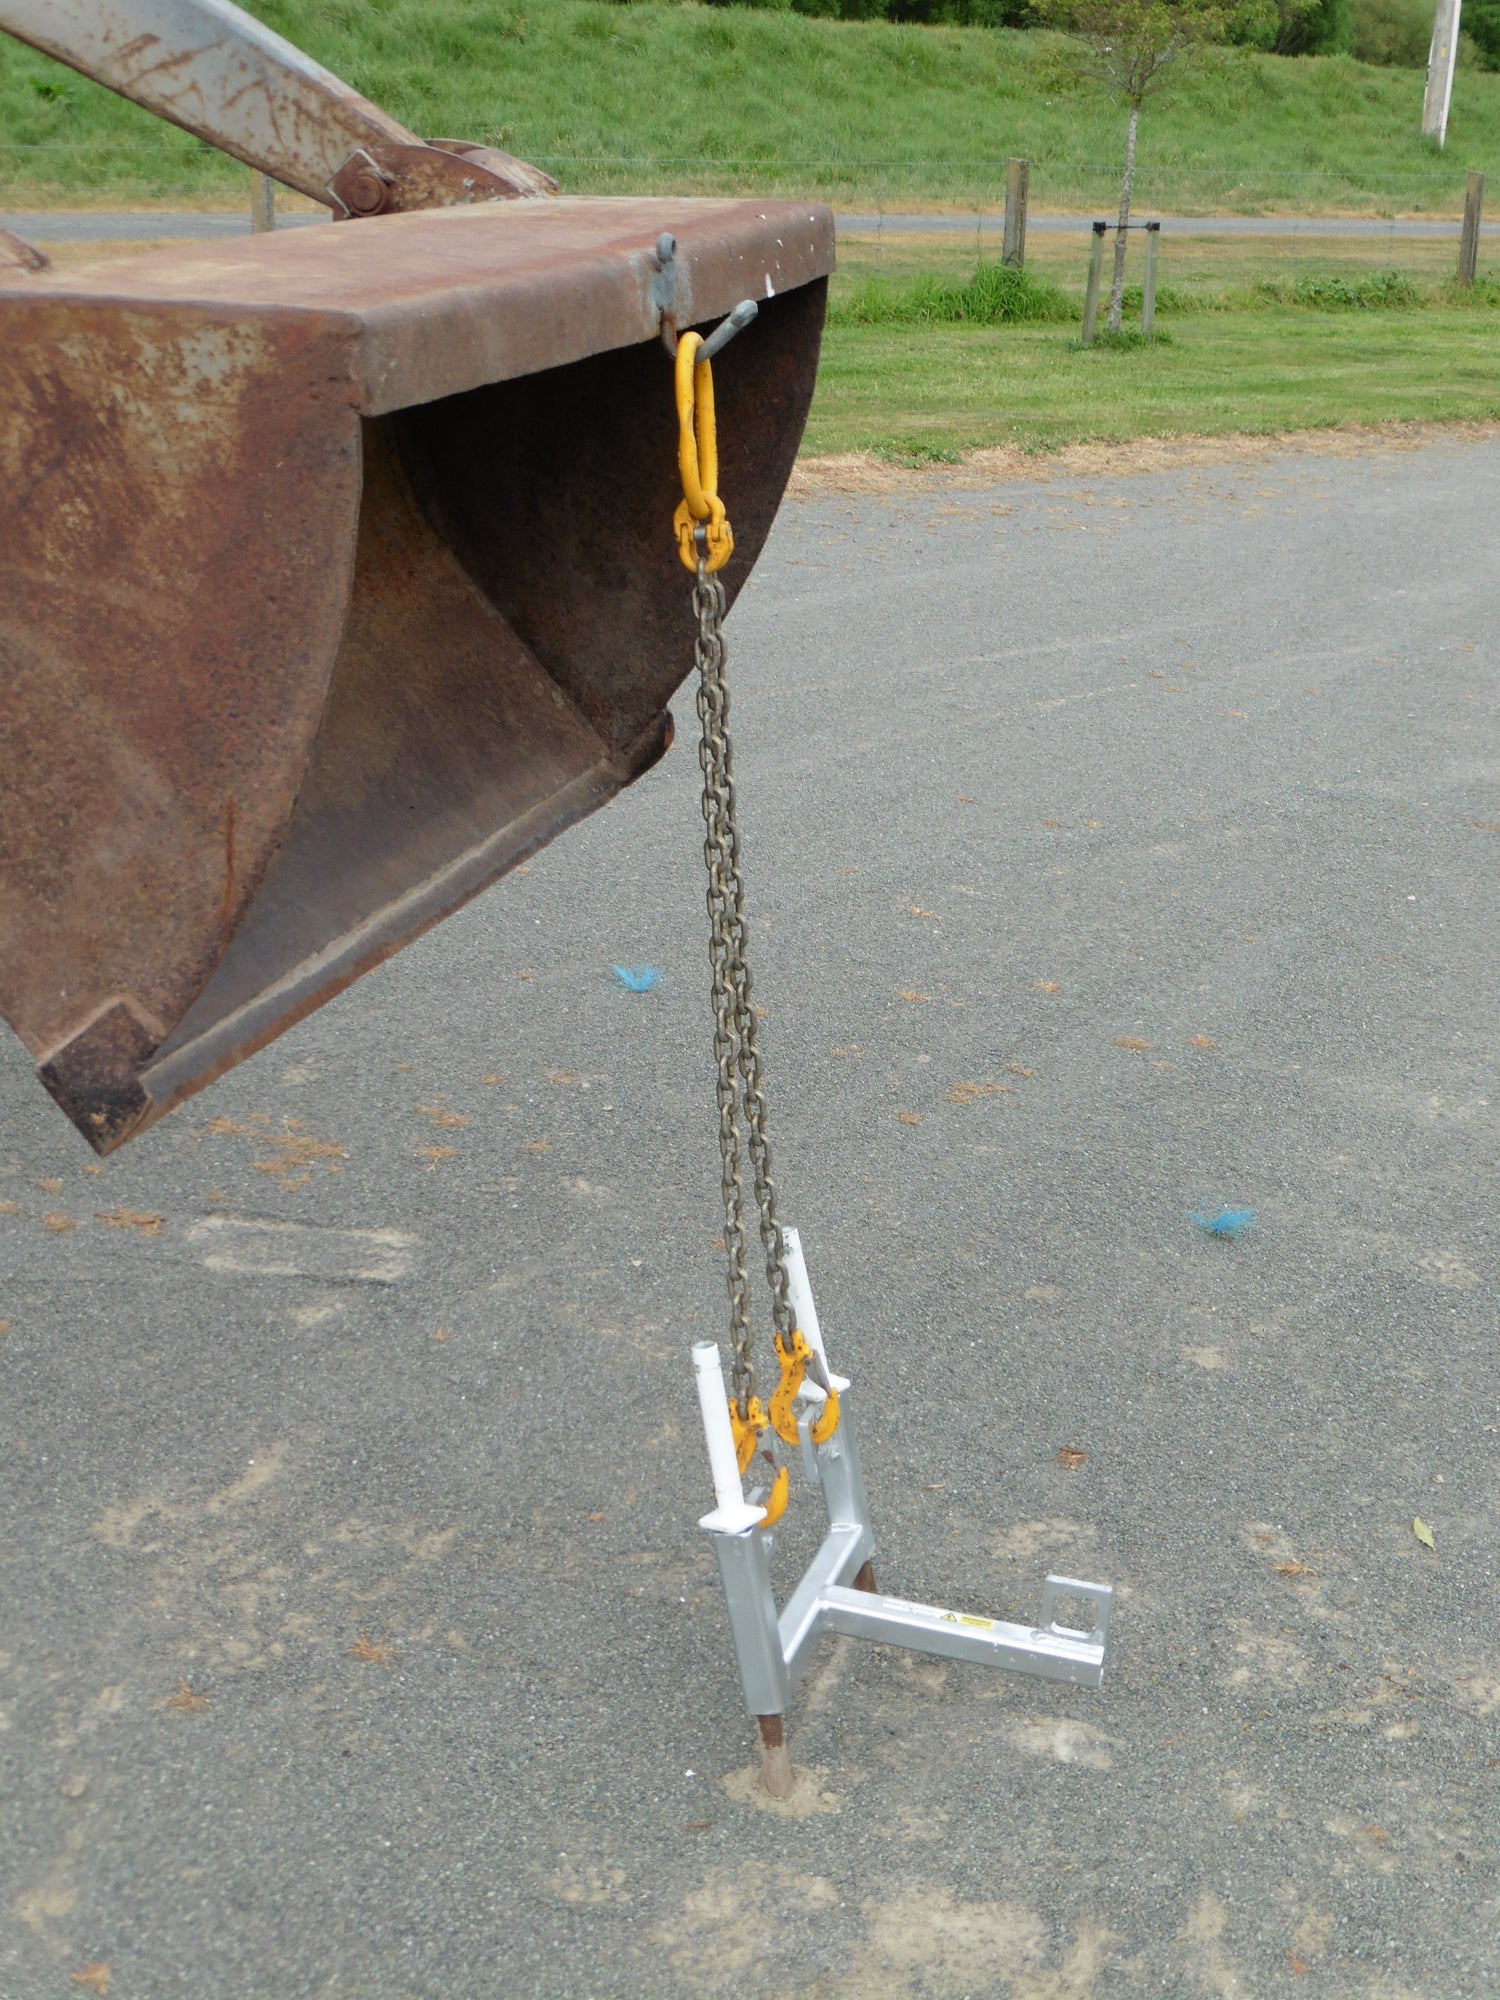
Removal using the lifting chains
Lifting chains and a loader will remove the pins if more force is required. Lifting chains are available to purchase on this site.
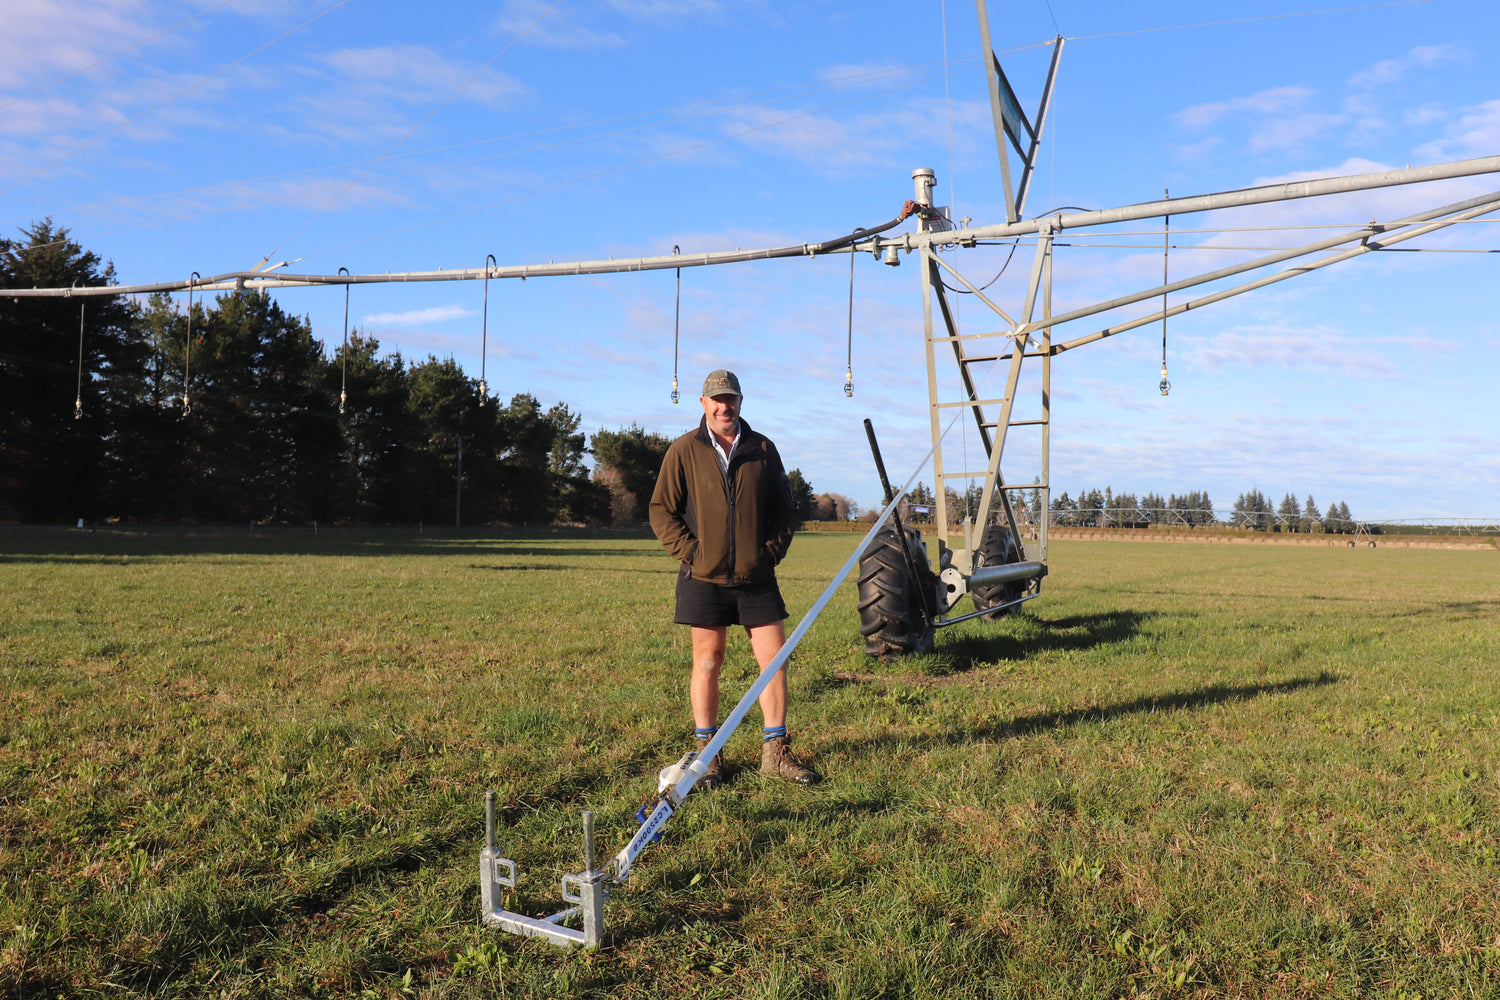
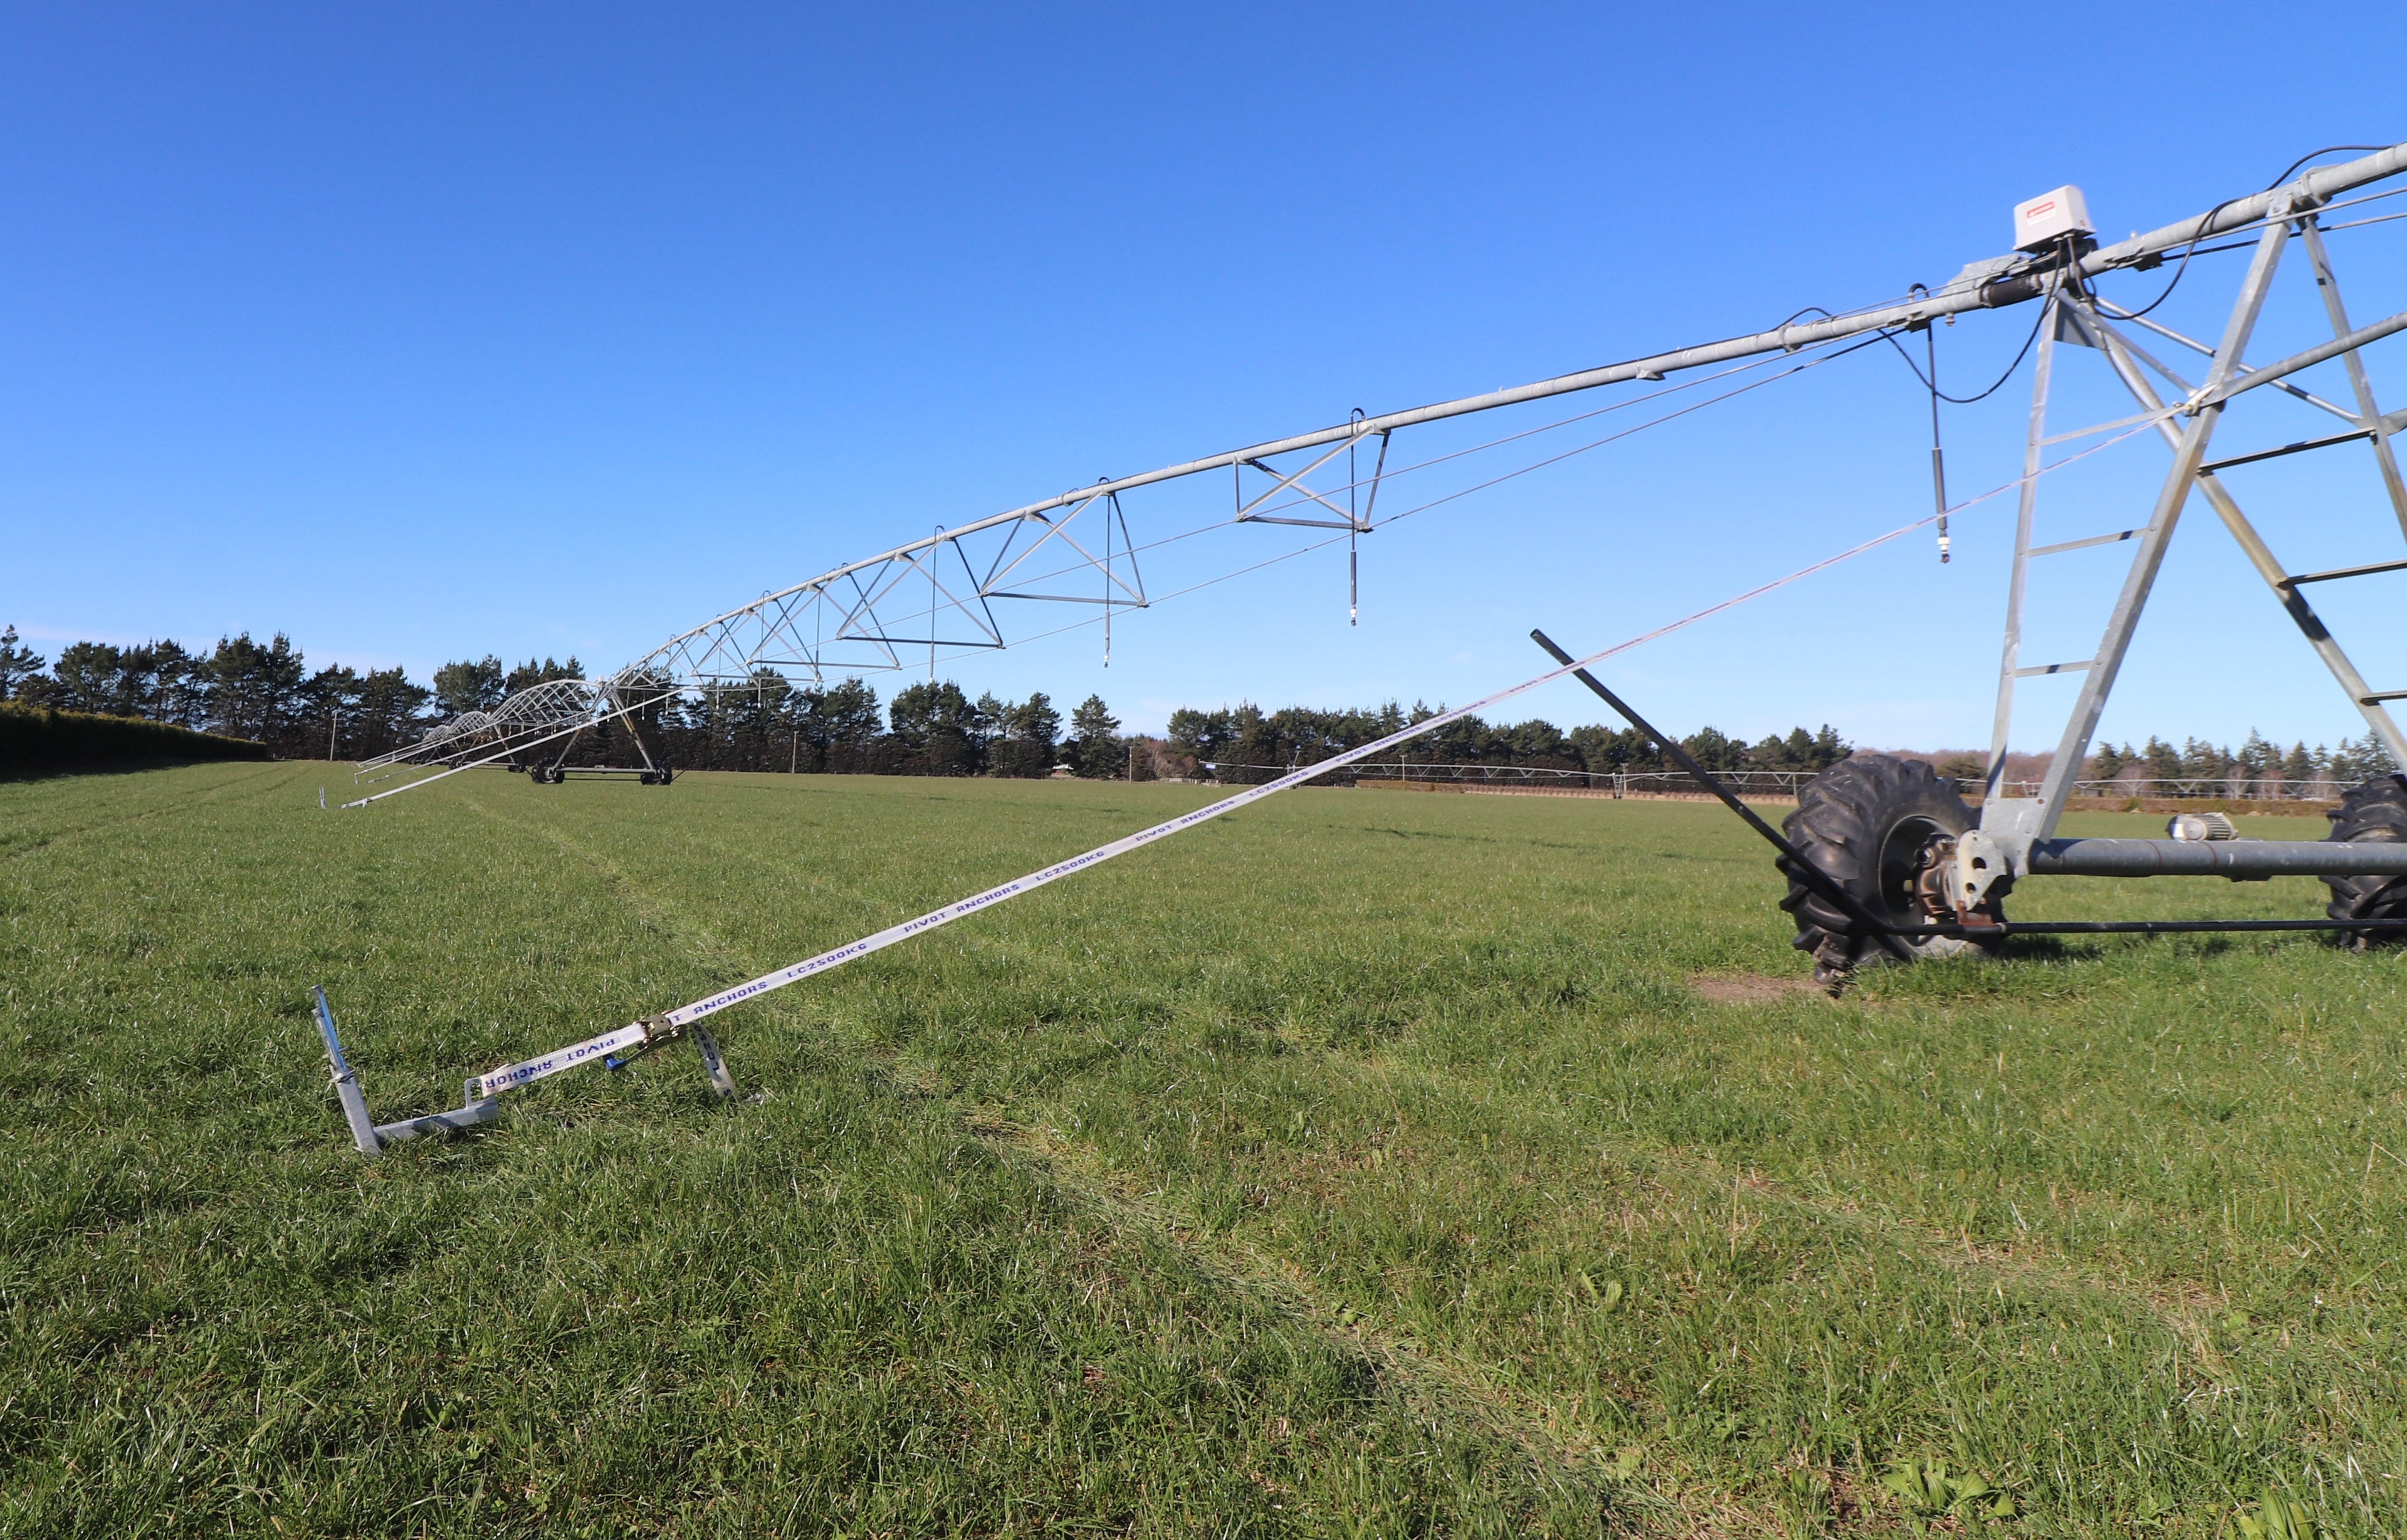
Cust farmer
Craig McAllister stands beside his irrigator which has been tied down using Pivot Anchors.
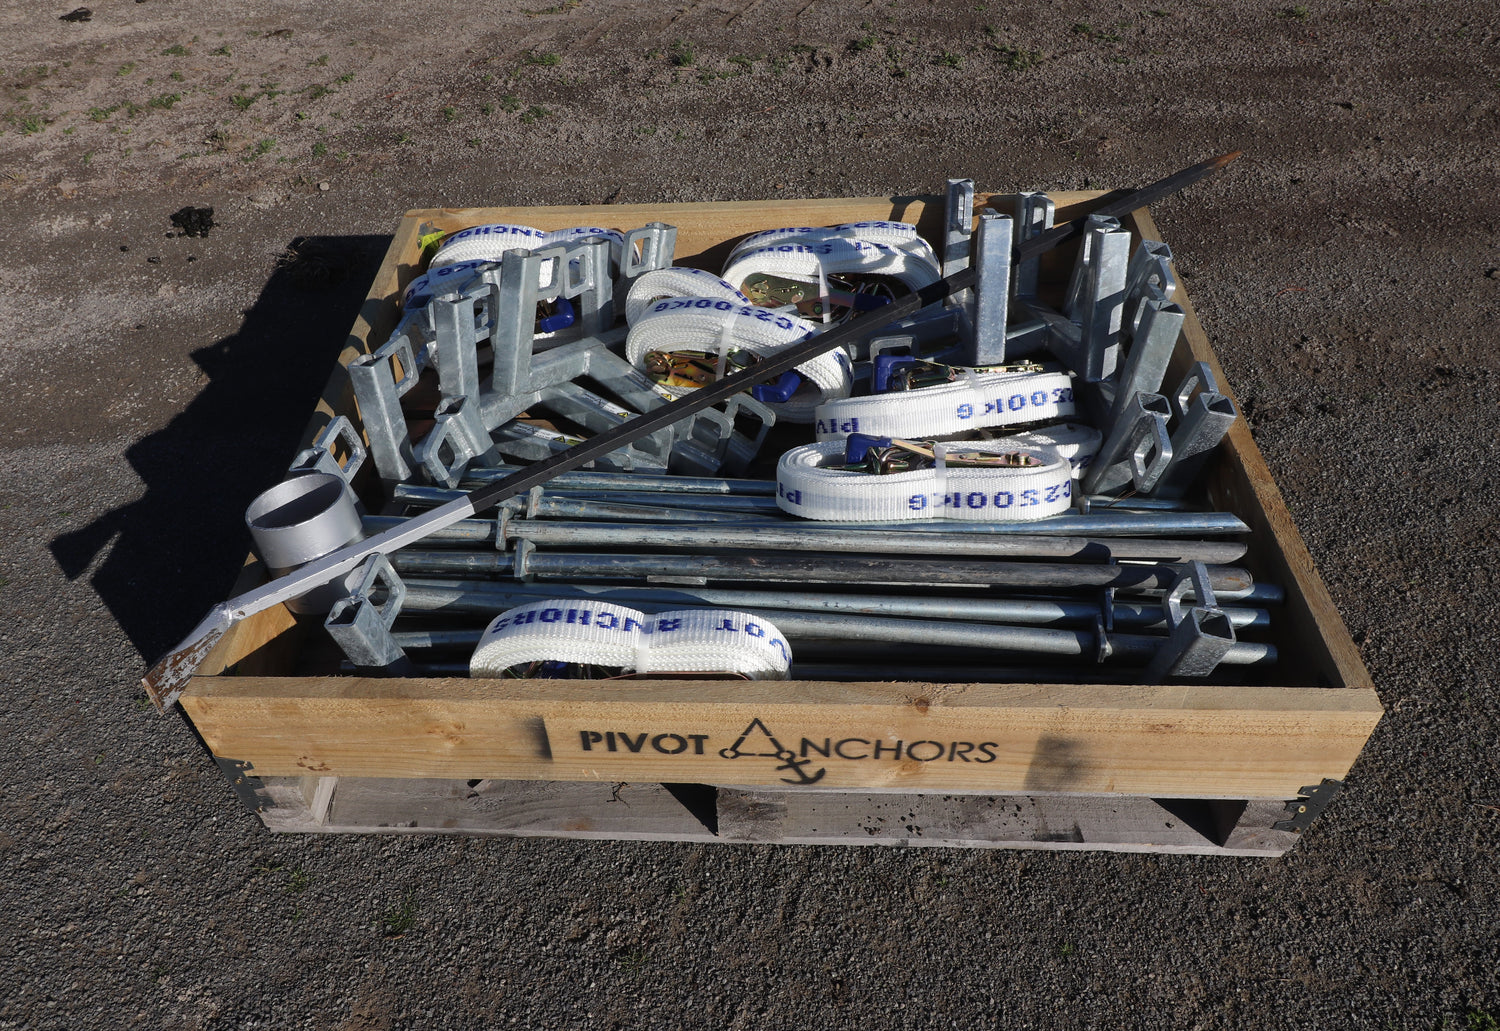
Storage
This photo shows 10 anchor assemblies and removal tool stored in a pallet box. This is then easily loaded on to a vehicle or trailer and taken to where they are needed.
Warnings
- Check for underground services prior to installation.
- Use of pivot anchors is at the purchasers risk.
- Advise anyone operating a vehicle, that they have been installed, and to be aware of them.
- Check pivot anchors are detached before restarting the irrigator.
- Pivot Anchors Ltd will accept no liability for any damage caused to equipment in weather events where pivot anchors have been used.
- High visibility paint (eg a bright pink all metal spray paint), can be used to paint the tops of the pins to enable improved visibility when they are installed in the field.